MDX Code Highlighting and Styling
26 October 2022
MDX
syntax-highlighting
next.js
tailwindcss
In this blog we will see how to style the code blocks in MDX files using rehype and remake plugins.
End Result Of This Blog
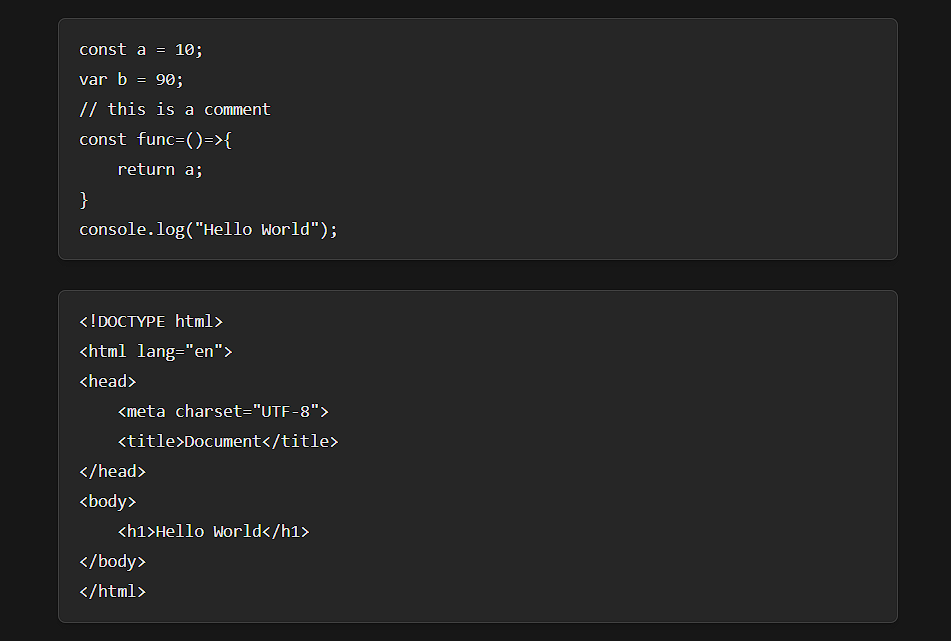
Before we start, let's see how the code blocks will look like in MDX files:
const a = 10;
var b = 90;
// this is a comment
const func=()=>{
    return a;
}
console.log("Hello World");
<!DOCTYPE html>
<html lang="en">
<head>
    <meta charset="UTF-8">
    <title>Document</title>
</head>
<body>
    <h1>Hello World</h1>
</body>
</html>
body{
    background-color: red;
}
a=10
for i in range(10):
    print(i)
public class Main{
    public static void main(String[] args){
        System.out.println("Hello World");
    }
}
Code Blocks without styling 💀
So lets start with adding the styling to the code blocks.
Adding Dependencies to the project
Required Dependencies:
rehype
rehype-autolink-headings
rehype-code-titles
rehype-prism-plus
rehype-slug
remark-gfm
npm install rehype rehype-autolink-headings rehype-code-titles rehype-prism-plus rehype-slug remark-gfm
yarn add rehype rehype-autolink-headings rehype-code-titles rehype-prism-plus rehype-slug remark-gfm
I am using
MDX-Remotefor MDX files. If you are using@next/mdxthen you can use the same plugins innext.config.jsfile.
Adding plugins to our MDX object
Now let's see how to use these plugins in MDX-Remote:
import { serialize } from 'next-mdx-remote/serialize'
import { MDXRemote } from 'next-mdx-remote'
import rehypeAutolinkHeadings from 'rehype-autolink-headings'
import rehypeCodeTitles from 'rehype-code-titles'
import rehypePrism from '@mapbox/rehype-prism'
import rehypeSlug from 'rehype-slug'
import remarkGfm from 'remark-gfm'

const components = { /* your components */ }

export default function Blog({ source }) {
  return (
    <MDXRemote {...source} components={components} />
  )
}

export async function getStaticProps({params}) {
  const { fileContents } = getBlogBySlug(params.slug); // get the MDX file contents
  const { data, content } = matter(fileContents); // get the frontmatter, content
  const mdxSource = await serialize(source, {
    mdxOptions: {
      remarkPlugins: [remarkGfm],
      rehypePlugins: [
        rehypeSlug,
        rehypeCodeTitles,
        rehypePrism,
        [
          rehypeAutolinkHeadings,
          {
            properties: {
              className: ["anchor"],
            },
          },
        ],
      ],
      format: "mdx",
    },
  })

  return { props: { source: mdxSource } }
}
Add the mdxOptions object in the serialize function. This will add the plugins to the MDX files.
Adding Customizable Styles
Now go to globals.css file and add the following code so that the code blocks have syntax highlighting
.rehype-code-title {
  @apply px-5 py-3 font-mono text-sm font-bold text-neutral-800 bg-neutral-100 border border-b-0 border-neutral-300 rounded-t-lg dark:text-neutral-200 dark:border-neutral-700 dark:bg-neutral-900;
}

.rehype-code-title + pre {
  @apply mt-0 rounded-t-none;
}

.prose .anchor {
  @apply absolute invisible no-underline delay-[50ms] transition-all -ml-10 pr-2 cursor-pointer;
}

.anchor:hover {
  @apply visible;
}

.prose a {
  @apply transition-all;
}

.prose .anchor:after {
  @apply text-neutral-300 dark:text-neutral-700;
  content: "#";
}

.prose *:hover > .anchor {
  @apply visible;
}

.prose pre {
  @apply border shadow-md border-neutral-300 bg-neutral-200 dark:border-neutral-700 dark:bg-neutral-800;
}

.prose code {
  @apply font-mono text-neutral-800 dark:text-neutral-200 px-1 py-0.5 border border-neutral-400 dark:border-neutral-800 rounded-lg bg-neutral-300 dark:bg-neutral-800;
}

.prose pre code {
  @apply text-neutral-800 dark:text-neutral-200 p-0;
  border: initial;
}
.code-line {
  @apply bg-neutral-200 dark:bg-neutral-800;
}
.token.comment,
.token.prolog,
.token.doctype,
.token.cdata,
.token.console {
  @apply text-neutral-700 dark:text-neutral-300;
}
.token.punctuation {
  @apply text-blue-400;
}

.token.number,
.token.symbol,
.token.boolean,
.token.constant,
.token.property,
.token.tag,
.token.deleted {
  @apply text-blue-500;
}
.token.string {
  @apply text-blue-600;
}
.token.attr-name,
.token.builtin,
.token.char,
.token.selector,
.token.inserted {
  @apply text-purple-500;
}

.token.entity,
.token.important,
.token.operator,
.token.regex,
.token.url,
.token.variable,
.language-css .token.string,
.style .token.string {
  @apply text-yellow-900 dark:text-yellow-300;
}

.token.atrule,
.token.attr-value,
.token.keyword {
  @apply text-red-600;
}

.token.function,
.token.class-name {
  @apply text-purple-500;
}

code[class*="language-"],
pre[class*="language-"] {
  @apply text-neutral-800 dark:text-neutral-200;
}

blockquote p {
  @apply font-mono;
}
blockquote p::before {
  content: "" !important;
}
Conclusion
In this article, we learned how to add syntax highlighting to code blocks in Next.js using MDX and TailwindCSS.
All the styles can be customized as per your need. You can also add more plugins to the mdxOptions object to add more features to your MDX files.
Resources
Plugins
Thats a wrap! If you like this blog, please share it with your friends. Also, do follow me on Twitter. Peace Out! ✌️